Part 4: Developing the Frontend with React and AWS Amplify UI Components 🌐🚀

I am an enthusiastic and dedicated software developer, driven by a profound passion for crafting cutting-edge and impactful software solutions. Severall years of experience in the dynamic world of software development, I have honed my skills and expertise in delivering innovative and efficient solutions that meet the diverse needs of users and businesses alike.
Github Repo: DentalArt
Amplify Studio
Welcome back to our blog series! In this part, we'll dive into the exciting world of frontend development using React and AWS Amplify UI Components to create a powerful and user-friendly Dental Clinic Management System dashboard. Let's get started! 🏥🦷
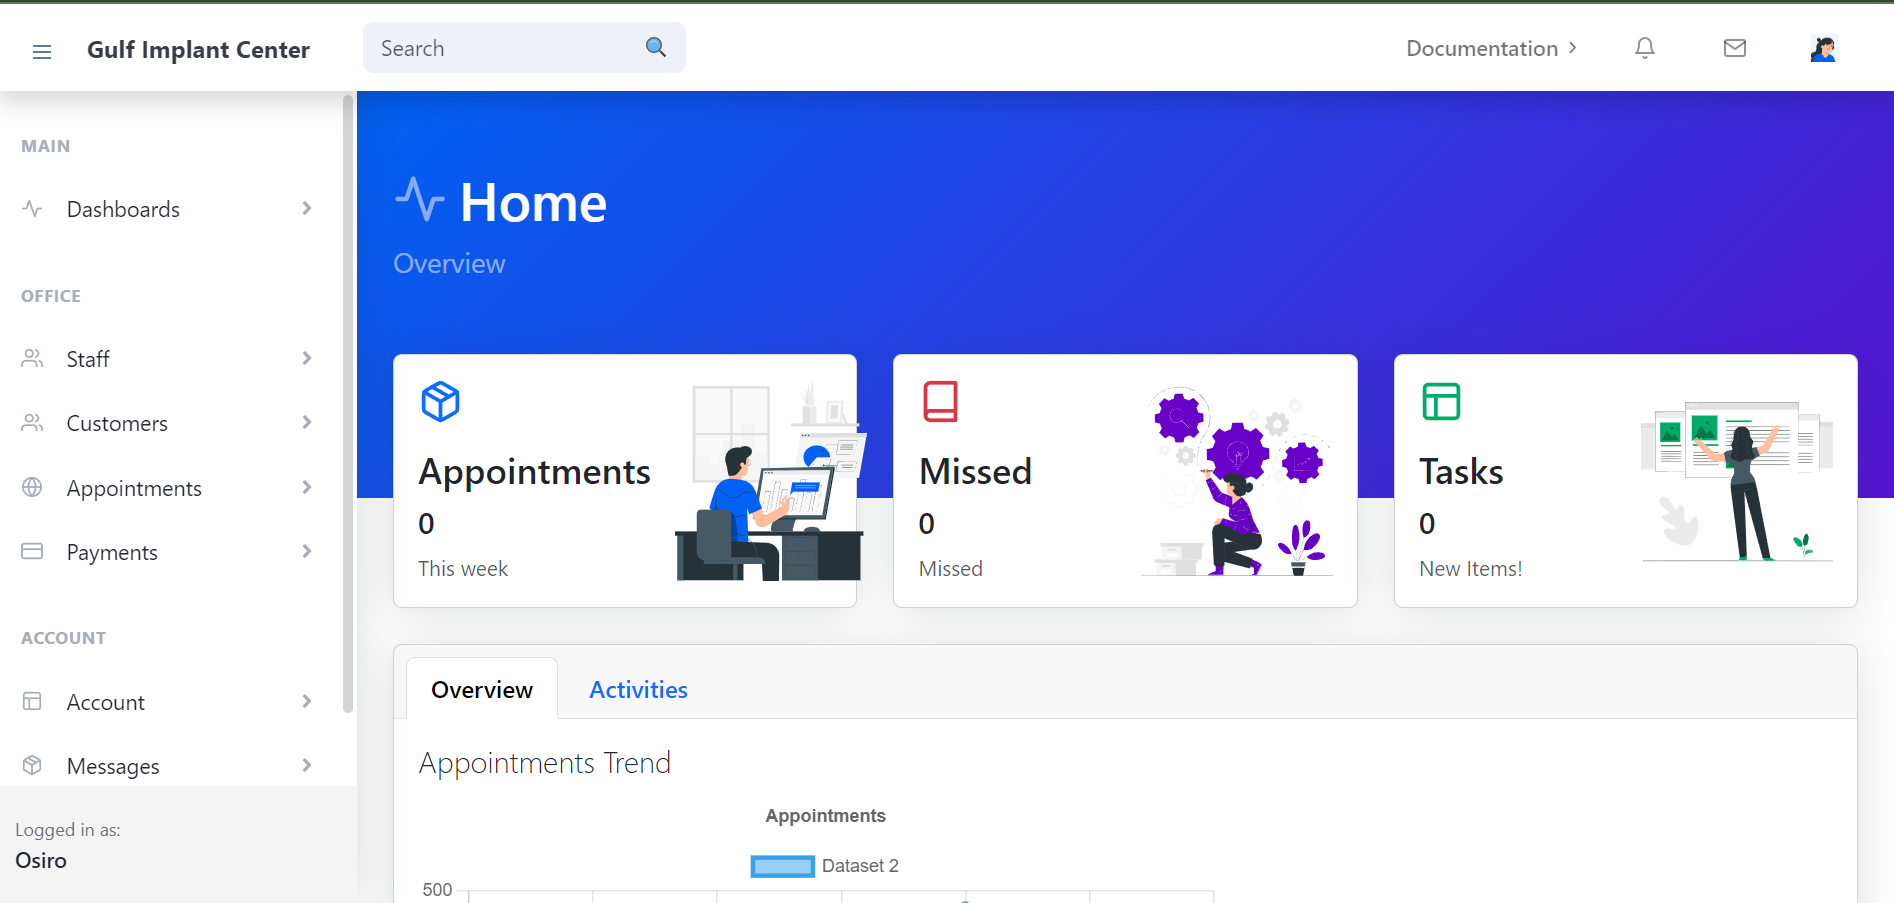
Building a Dashboard with Create React App
To create a robust and scalable frontend for our Dental Clinic Management System, we decided to leverage Create React App. It provides an excellent starting point with a pre-configured build system and development environment, allowing us to focus on building features quickly. The code for our dashboard can be found in the GitHub repository DentalArt.
Why TypeScript?
TypeScript offers static typing, enabling early detection of errors and improved code maintainability. With the complexity of a clinic management system, TypeScript ensures code integrity and provides clear documentation for our components and API interactions.
AWS Amplify UI Components
AWS Amplify provides a rich set of pre-built UI components that are easy to integrate into our React application. These components are designed to match AWS's design language, ensuring a consistent and professional look for our dashboard.
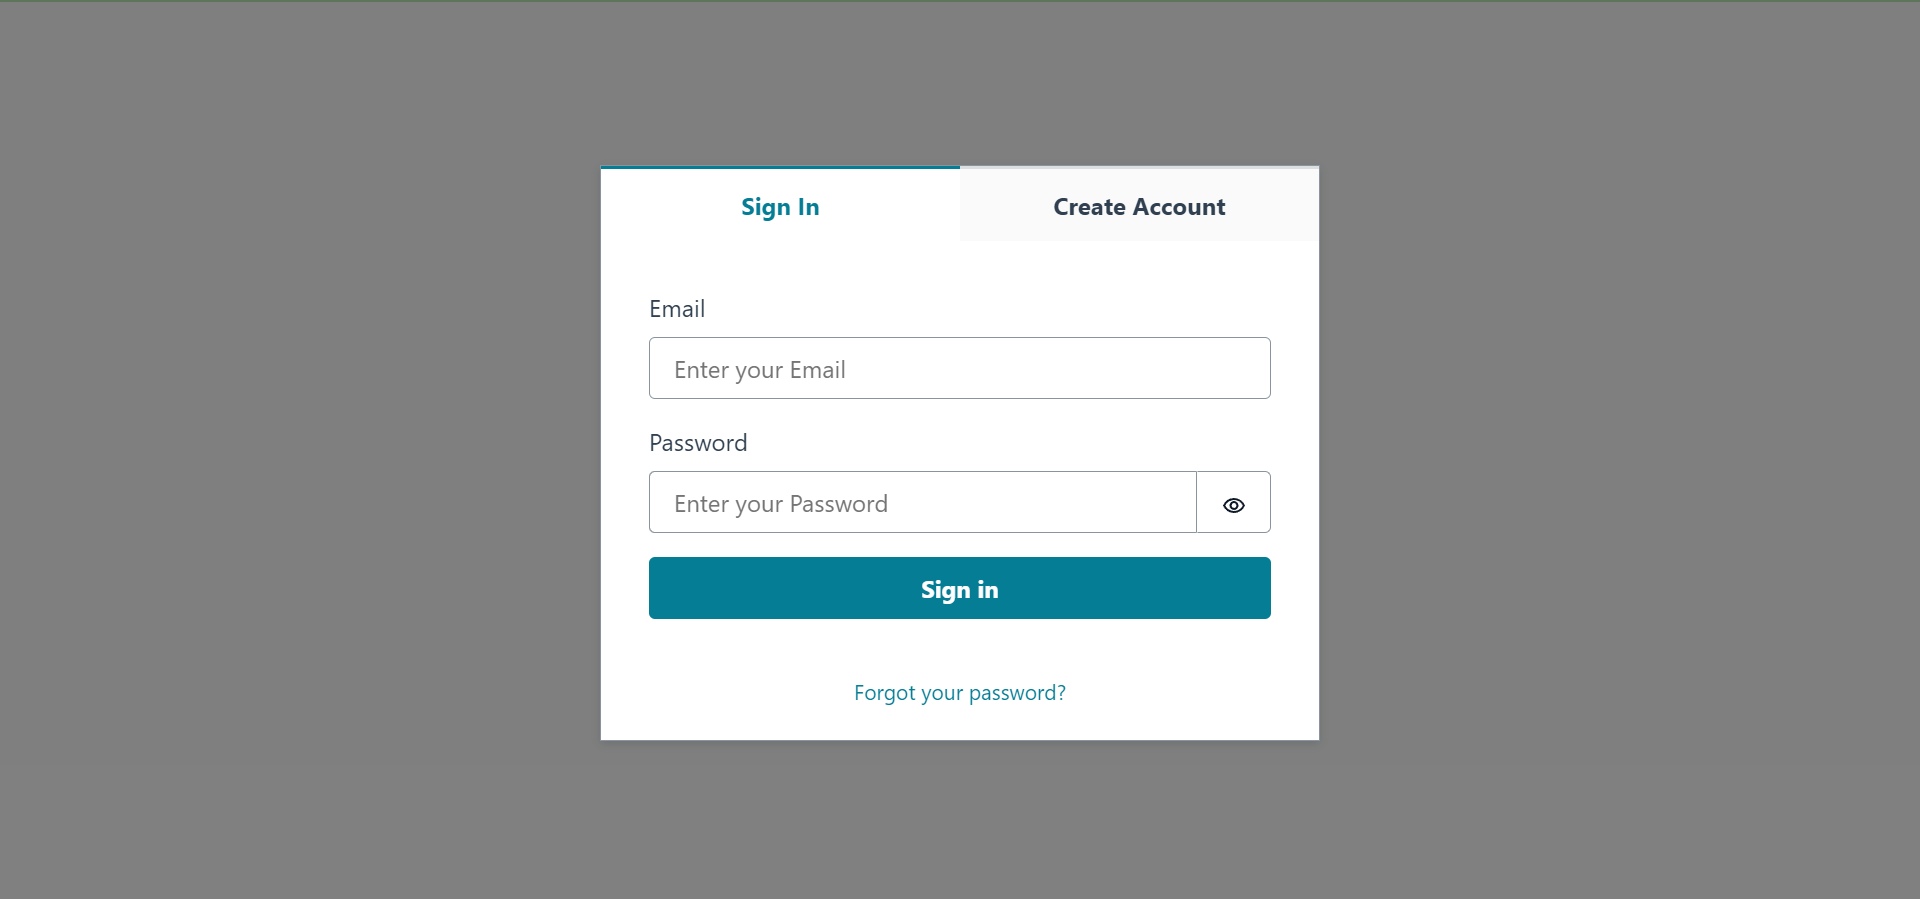
Authenticator Higher Order Component (HOC)
One of the key advantages of using Amplify is its built-in authentication support. We can wrap our app with the withAuthenticator HOC to enable user sign-up and sign-in flows with various authentication providers like Amazon Cognito. This HOC takes care of all the authentication and authorization logic, saving us time and effort in implementing these features from scratch.
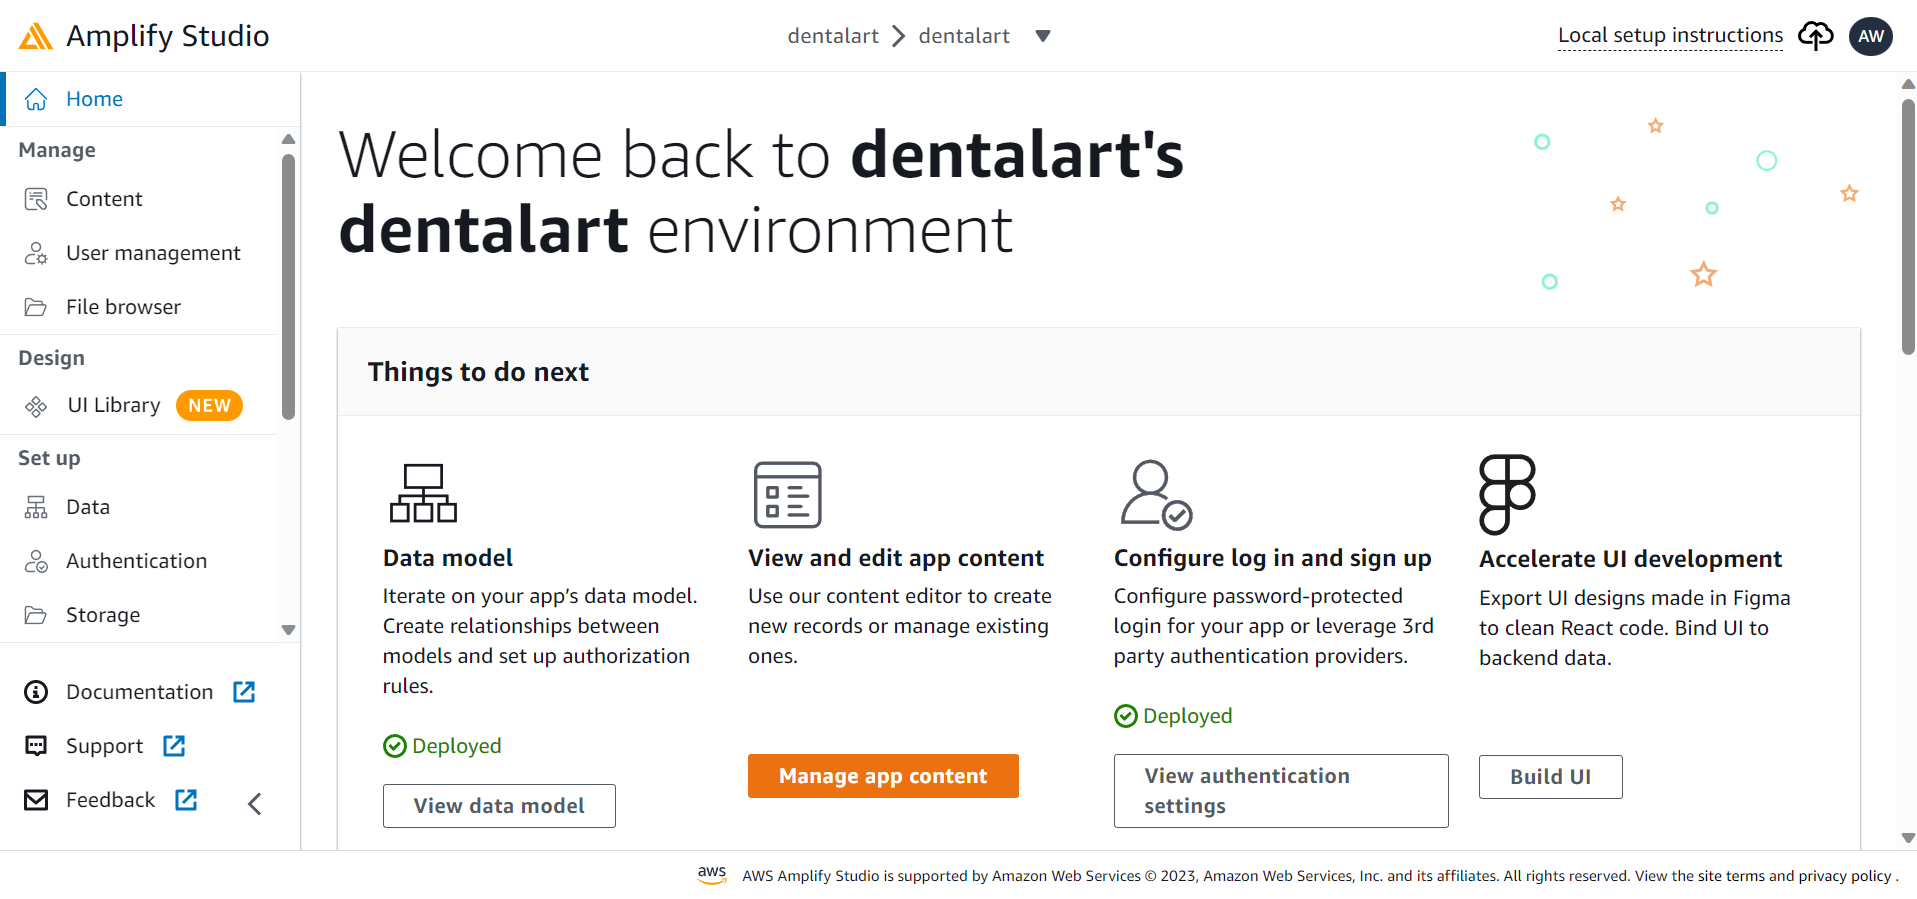
AWS Amplify Studio Setup
Amplify Studio is a visual interface for managing app backends, which allows us to create, modify, and interact with our backend resources without leaving the AWS console. This setup simplifies the management of our backend services, making it easy to configure data models, authentication, and more.
Advantages and Disadvantages
Advantages of using AWS Amplify UI Components:
Rapid development: Pre-built components reduce development time significantly.
Consistent design: Components follow AWS design guidelines, maintaining a professional and uniform look.
Seamless integration: Amplify components work seamlessly with other Amplify services like authentication and API.
Disadvantages of using AWS Amplify UI Components:
- Customization limitations: Although highly functional, the components may have limited customization options.
Setting Up Amplify in Our Code
- Install Amplify CLI globally:
npm install -g @aws-amplify/cli
- Initialize Amplify in your Create React App project:
amplify init
- Add authentication:
amplify add auth
amplify push
- Add GraphQL API:
amplify add api
amplify push
Using Amplify UI Components
Here's an example of using Amplify UI components in our code:
import React from 'react';
import { withAuthenticator } from '@aws-amplify/ui-react';
import { Button, Form, Input, LoadingSpinner } from '@aws-amplify/ui-react';

const MyDashboard: React.FC = () => {
  return (
    <div>
      <h1>Welcome to the Dental Clinic Management System Dashboard!</h1>
      <Form>
        <Input type="text" label="Patient Name" />
        <Input type="date" label="Appointment Date" />
        <Input type="time" label="Appointment Time" />
        <Button>Submit Appointment</Button>
      </Form>
      <LoadingSpinner />
    </div>
  );
};

export default withAuthenticator(MyDashboard);
Choosing Pre-built Forms from Data Models
Amplify automatically generates GraphQL operations for our data models. We can use these operations to interact with our backend without writing boilerplate code for CRUD operations. For instance:
import { API } from 'aws-amplify';

// Example of fetching appointments
const getAppointments = async () => {
  try {
    const response = await API.graphql({ query: listAppointments });
    const appointments = response.data.listAppointments.items;
    // Do something with the appointments data
  } catch (error) {
    // Handle error
  }
};
By leveraging these pre-built GraphQL operations, we can focus on building features that matter most to our users.
With our frontend development setup using React, TypeScript, and AWS Amplify UI Components, we're now well-equipped to create an intuitive and efficient Dental Clinic Management System dashboard. In the next part of our series, we'll delve into integrating the GraphQL API and connecting it to the front end. Stay tuned for more exciting updates! 😄🚀🏥
Adding Authentication and Accessing User Attributes
Authentication is a crucial aspect of our Dental Clinic Management System to ensure the security and privacy of patient data. AWS Amplify simplifies the process of adding authentication to our React app and provides easy access to user attributes. Let's walk through the steps to add authentication and explore how we can access user attributes.
Step 1: Adding Authentication
- Install the AWS Amplify libraries:
npm install aws-amplify @aws-amplify/ui-react
- Import the necessary Amplify modules in your app's entry point (usually
index.tsxorApp.tsx):
import Amplify from 'aws-amplify';
import { withAuthenticator } from '@aws-amplify/ui-react';
import awsConfig from './aws-exports';
Amplify.configure(awsConfig);
- Wrap your main component with the
withAuthenticatorhigher-order component (HOC):
import React from 'react';
import { withAuthenticator } from '@aws-amplify/ui-react';

const App: React.FC = () => {
  // Your app code here
};

export default withAuthenticator(App);
Step 2: Accessing User Attributes
Now that we have set up authentication, we can easily access user attributes like username, email, phone number, and custom attributes.
To access the authenticated user's attributes, you can use the Auth.currentAuthenticatedUser() method provided by Amplify.
Here's an example of accessing the username:
import { useEffect, useState } from 'react';
import { Auth } from 'aws-amplify';

const UserProfile: React.FC = () => {
  const [username, setUsername] = useState('');

  useEffect(() => {
    // Fetch the current authenticated user's attributes
    Auth.currentAuthenticatedUser()
      .then((user) => {
        setUsername(user.username);
      })
      .catch((error) => {
        // Handle error
        console.log('Error fetching user attributes:', error);
      });
  }, []);

  return (
    <div>
      <h2>Welcome, {username}!</h2>
      {/* Display other user attributes as needed */}
    </div>
  );
};
By using the Auth.currentAuthenticatedUser() method, we can access various user attributes and customize our app based on the logged-in user.
Customizing User Attributes
To add custom attributes to the user, you can use the signUpAttributes property in the AWS Amplify configuration (usually in aws-exports.js).
For example, to add a gender attribute during user registration:
// aws-exports.js
const awsmobile = {
  // Other config options...
  aws_user_pools: {
    // ...
    signUpAttributes: [
      {
        attribute: 'gender',
        required: true,
      },
      // Add other attributes as needed
    ],
  },
};
With this setup, the registration form will include a field for the user to enter their gender.
By following these steps, we have successfully added authentication to our Dental Clinic Management System app and accessed user attributes. This ensures that our app is secure, and we can personalize the user experience based on each user's attributes.
In the next part of our series, we'll integrate our GraphQL API with the frontend, allowing us to fetch and manage data from our Dental Clinic Management System. Stay tuned for more exciting updates! 😄🔒🦷
Feel free to share your thoughts and questions in the comments below. Happy coding! 💻🎉


